Stencil Techniques
On to the third class of the AlteNew Education Certification Program: Stencil Techniques!
In Lesson 1, we were challenged to make a stencil from a die cut in our stash. I took my AlteNew mini delight feather stamp and die cut set and decided to give it a whirl! I die cut feathers randomly in a standard A2 size panel (4.25” x 5.5”) and then used that as my stencil on another panel. I used Poppy color Ranger Ink throughout for a monochrome look. Then I stamped the feather outline over the stenciled shapes, and I was really pleased with the whimsical look of having colored outside the lines! I added the solid tip to each stenciled feather and also stamped some additional feather outlines around the edges of my panel. Popped on the sentiment from the set and matted on matching designer paper before attaching it to the card base. I love the look of this card
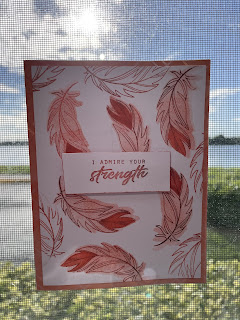


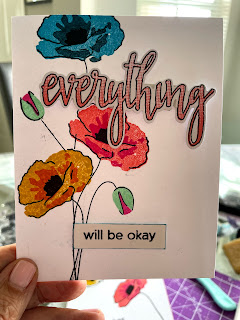

I think it is wonderful that you created your own stencil for the first card! Looks great! And I also like that colour. The second one turned out great too. The playful patterns is a great stencil to have, so many things you can do with it! I do like the choice of colours.
ReplyDeleteThank you for submitting your wonderful work to the AECP assignment gallery.